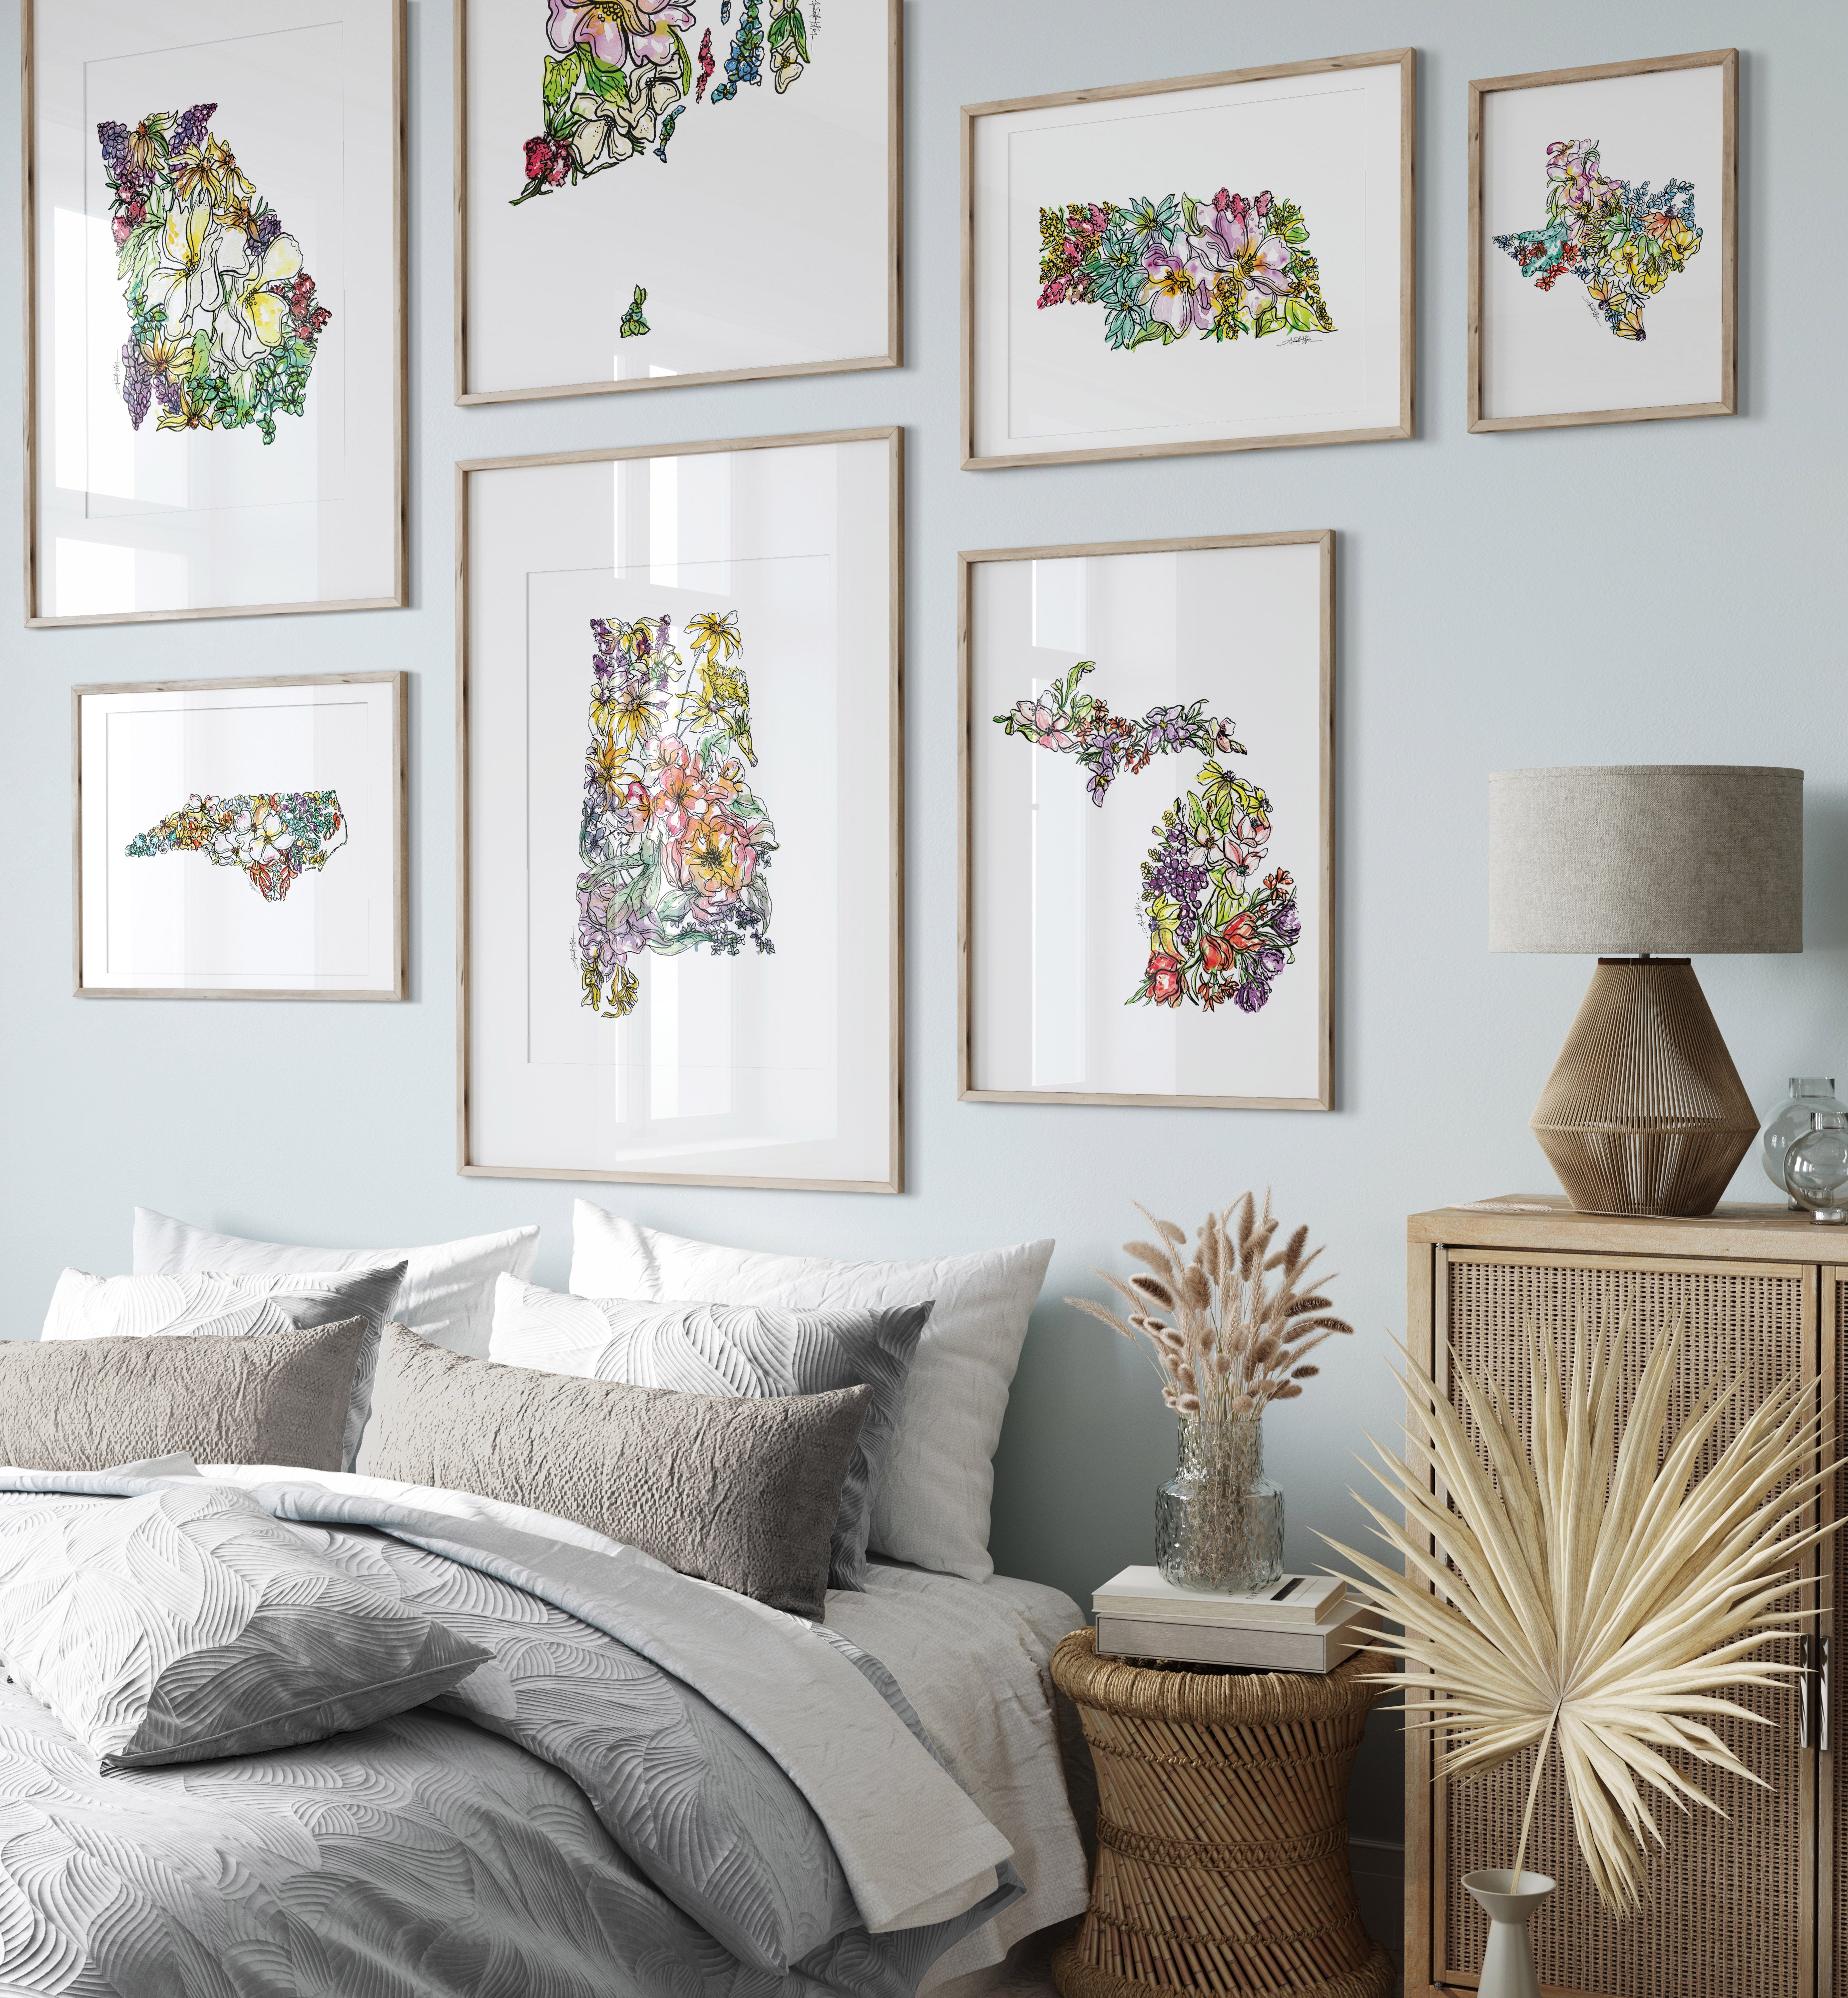
One of our most common inquiries relates to how to display multiple prints. Many of our customers want to create a visual to remind them of their family story - where they have lived, their journey as a military family, or all the places they have traveled. Learning about your stories is one of our favorite things and hearing how folks use our artwork to display special memories in their homes makes us all gratefully tearful.
So, how can you make a grouping of our prints look beautiful in your home or office? As you will see, some of our prints are oriented horizontally and some are oriented vertically. Our best recommendation is to use our prints to create a "gallery" wall. Don't let the different orientations scare you away - mixing up orientations can make things even more visually interesting and appealing! Since home is where the heart is, we know everyone wants to love their space. We want to help! We have created a list of common questions, a step by step guide, and a downloadable Gallery Wall Idea template.
- Can I mix and match vertical and horizontal prints? And different sizes? YES! We actually encourage that! Some of our USA Prints & Territories are horizontal and some are vertical ... if you're someone who has lived in various states, you'll probably have a mixture of the two! Never let this keep you from creating your dream wall - we promise it makes things more interesting. Don't believe us? Scroll up and check out the photo! We offer all states as a 5" x 7", 8" x 10" and 11" x 14".
- Where should I put a gallery wall in my home? We usually recommend an area that has a decent amount of space such as over a bed, over a buffet, behind a dining room table, a large living room wall, etc.
- But what about a small space --- like a bathroom wall? Many folks purchase the 5" x 7" prints for just that purpose (that's actually why we added that size!).
- What frames should I use? This is probably our most asked question and our answer is always the same: whatever frame YOU love, whatever frame will make YOU happy. Here's the thing: all of our fine art prints (animals/states/floral) are colorful - you can easily use black, white, gold, silver, polished wood, distressed wood, etc. You can make your print look even larger and more sophisticated by adding a mat but we think they still look great without them. We love the idea of folks creating a space that makes them happy and brings them peace, and this often means going with what YOU love.

Do not shy away from using different forms of artwork -- state prints can be paired with the print of a painting you love, a greeting card that has special meaning, concert tickets, a special photo, or even a beautiful fabric cutout. Although most of our customers frame just the states together, framing various forms of artwork together can be equally beautiful!

There are so many frame choices! We have seen folks frame our prints a hundred different ways, and you know what? We love all of them. Much like your choices in artwork that you hang in your home, the frames are personal choices as well. What style do you typically gravitate towards when decorating your space? Minimalist? Ornate? Colorful? Modern? Frame your art in your style. Because our prints are colorful with a white background, you really can't go wrong with any style of frame you choose.
This can be fun -- do not let it intimidate you!
PRO TIP: An easy way to get a real-life feel for how your new gallery wall will look in your space is to trace your framed print onto a large piece of paper or cardboard. Once your frame has been traced, use scissors to cut out the outline on the paper then use painter's tape to attach them to your wall in the exact spot you intend to hang the actual frame. You might even want to leave the paper or cardboard up for a few days to make sure you like the layout (always check the manufacturing info on the tape to make sure it will not damage your wall!).

Now it's time for the payoff! You've selected and framed your prints, you've decided on a layout, you are ready to hang your art and enjoy your newly decorated space! We would LOVE to see how your gallery wall turns out, so please share & tag us on Facebook or Instagram!
Questions? Reach out to us at hello@amandakleinco.com
xoxo,
Amanda + Team

